Animated Lighting
Our products control fascinating computerized lighting displays with captivating effects and synchronized music at homes, businesses, and municipal projects worldwide. If you want more buzz and visitors at your next display, we can help you too.
Whether you are a business looking to create attraction and excitement, a municipality creating a holiday light park fundraiser, or a homeowner aiming to have the best-looking-display in the neighborhood, Animated Lighting has something for you. Check out these videos for more.
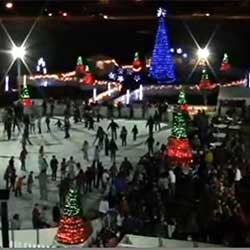
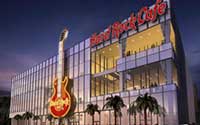
Commercial Displays
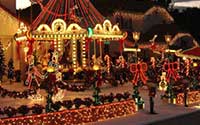
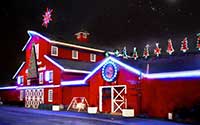
Residential Displays
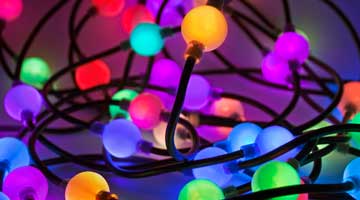
You already know about the long-life, low-energy benefits of LED lighting. Get those advantages plus a visual experience like no other with RGB LED products, which provide control of individual lights and a palette with virtually any color imaginable.
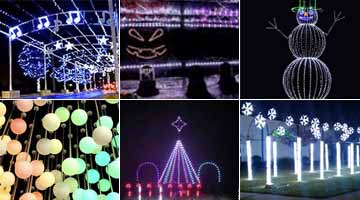
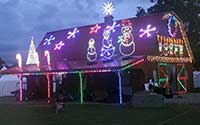
This family of products includes lighting controllers and illuminated objects and characters that literally just need to be connected to each other and a power outlet to provide intriguing lighting that can even be synchronized to music with no programming required!
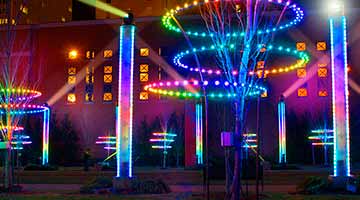
Whether you're a homeowner trying to impress the neighbors, a city or church hoping to entertain thousands, or a retail center wanting to attract visitors, our products and services are perfect for every situation that calls for awesome lighting displays.
Do you own or work for a landscaping, electrical, sign, events, or other company that has the potential to sell exciting lighting displays to commercial businesses?
We have exciting partnership opportunities for you that can add products to your offerings and revenue to your bottom line.
Learn More!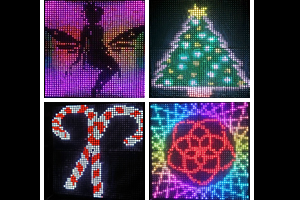
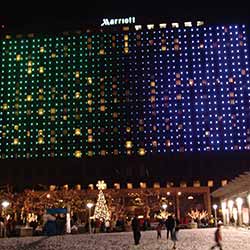
The RGB Grid product turns your ordinary "light and music" show into a multi-media extravaganza, including graphics and dazzling lighting effects, all synchronized to Christmas or Halloween music.
Click below for more information, and for some fun videos from our library of available songs.
We have examples of lighting displays that fit just about any venue and situation imaginable.
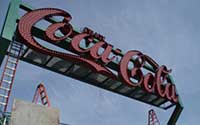
Read all about our latest project, an ambitious and successful RGB casino sign that is sure to stand out from the rest. Go
Be the first to know (sort of) about one of our newest products, the RGB Mini Star. Go